How to design a medical device: a step-by-step guide
Unlike consumer products, the stakes are literal. A practitioner's guide from intended use through the summative usability study and your regulatory pathway.
RKS Design team
Medical & Life SciencesPublished May 28, 2026 · Updated June 11, 2026 · 9 min readReviewed by Ravi Sawhney✓
Designing a medical device means grounding every decision in intended use and human factors, then carrying it through risk analysis, verification and validation, and a regulatory pathway (510(k), PMA, or De Novo). Use errors, most of them design-driven, are a leading cause of adverse events, so usability is a safety requirement, not a finishing touch.
Designing a medical device is one of the most demanding challenges in product development. Unlike consumer products, the stakes are literal: poorly designed devices contribute to thousands of use errors and patient injuries every year. The FDA estimates that use errors, most of which are attributable to device design rather than user negligence, are a leading cause of adverse events in clinical settings.
At the same time, the best medical devices are some of the most transformative products ever made. They extend lives, restore independence, and give patients back something that illness or injury took from them. Getting the design right matters enormously, both because the consequences of failure are serious and because the potential upside is profound.
How to Design a Medical Device: A Step-by-Step Guide for Innovation Teams
Type
Date
Step 1: Define Your Intended Use and User Population
Automation isn’t the issue.
The issue is how it changes the experience.
A recent article featuring Ravi Sawhney highlighted a growing shift in fast food: customers are being asked to do more, while paying more.
At first glance, automation promises efficiency. Faster ordering. Shorter lines. Lower operational costs.
But that’s not how people evaluate experiences.
They evaluate value.
As Ravi noted, “What’s changing here is the value exchange. Customers are doing more of the work while paying more. People feel that immediately.”
Step 2: Conduct User Research and Human Factors Analysis
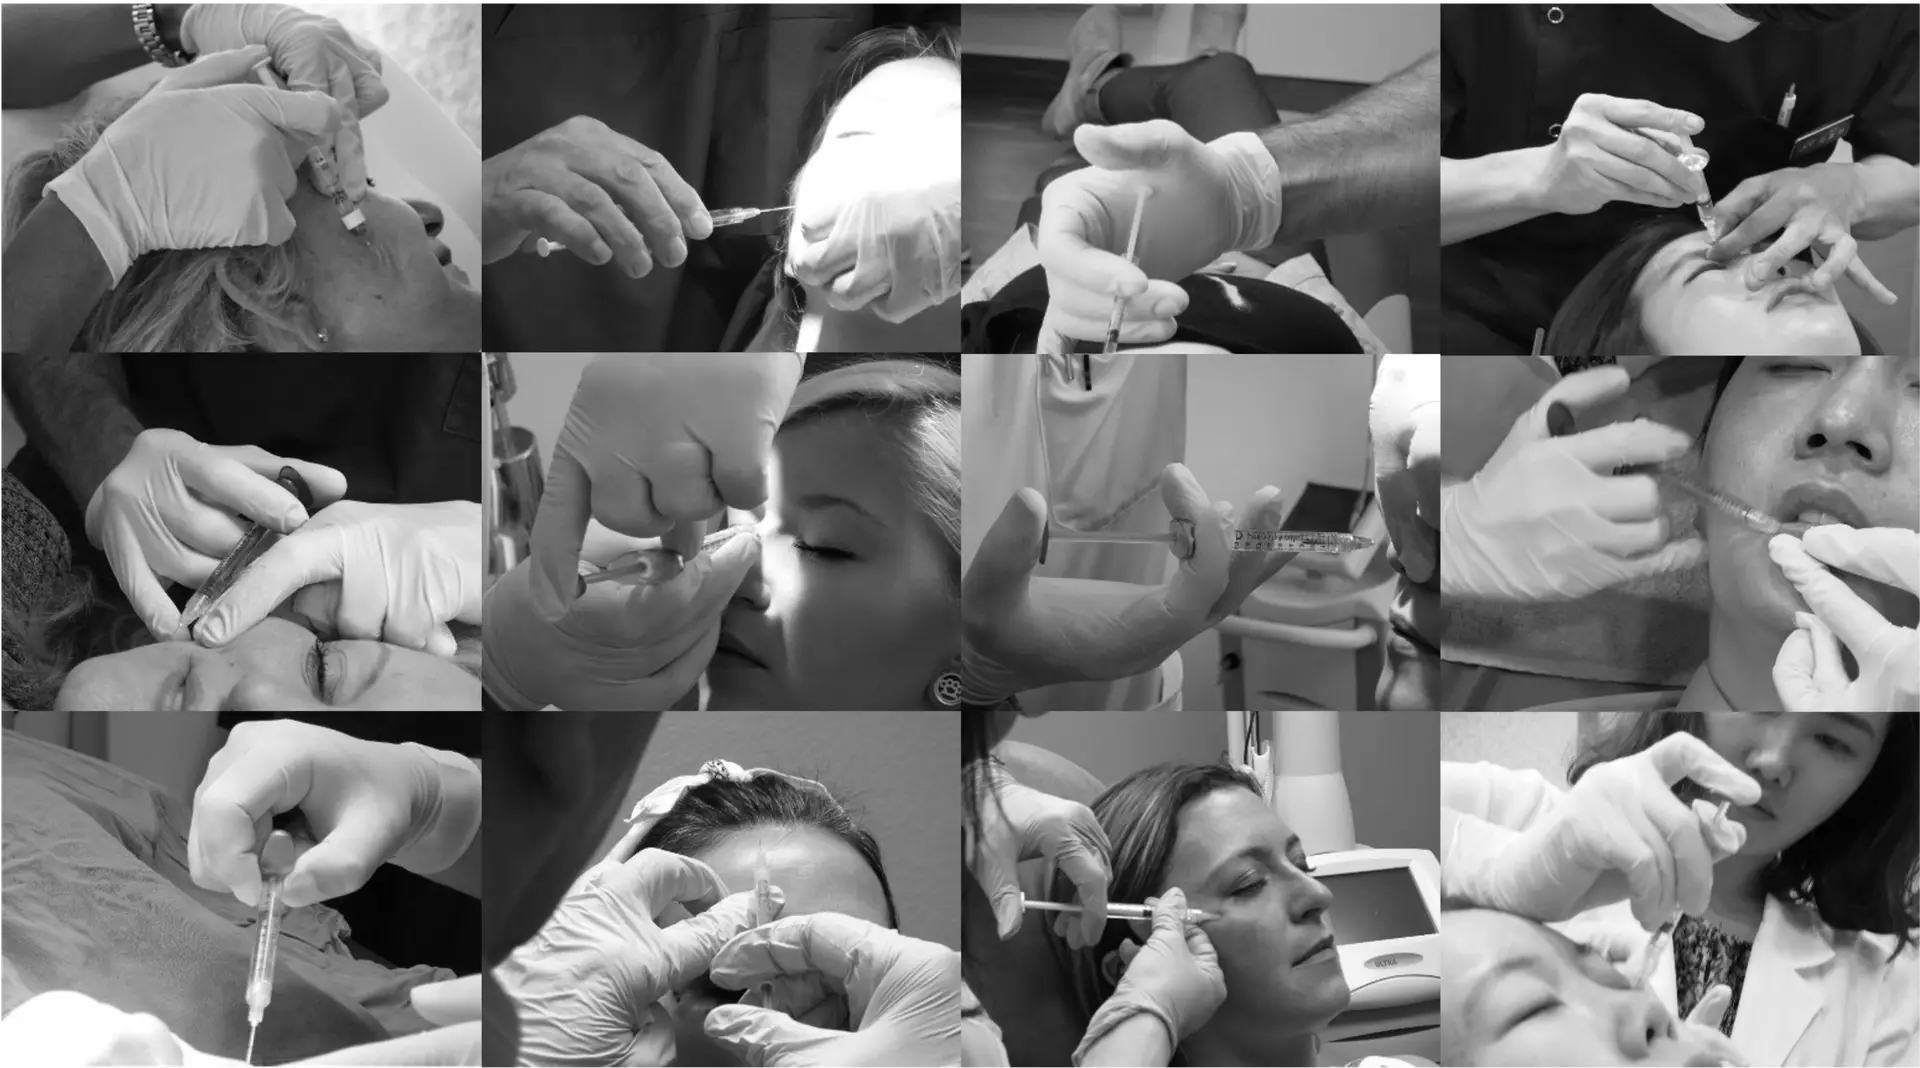
The FDA’s guidance on human factors and usability engineering (HF/UE) is explicit: device design must be grounded in rigorous user research. Effective research includes user interviews and field observations (to surface insights no survey can capture), task analysis (mapping every interaction to identify where cognitive load is highest), use environment assessment (accounting for real conditions like poor lighting, time pressure, and sterile gloves), and critical task identification (pinpointing interactions where a use error could cause serious harm).
Step 3: Establish Design Requirements
Based on your intended use definition and user research, develop a formal set of design requirements addressing: functional requirements (what the device must do, measured against objective criteria), usability requirements (how the device must behave in users’ hands), safety requirements (acceptable risk levels for all identified hazards), regulatory requirements (ISO 13485, IEC 62366, 21 CFR Part 820), and environmental requirements (performance under actual conditions of use).
Step 4: Develop Your Design Concept
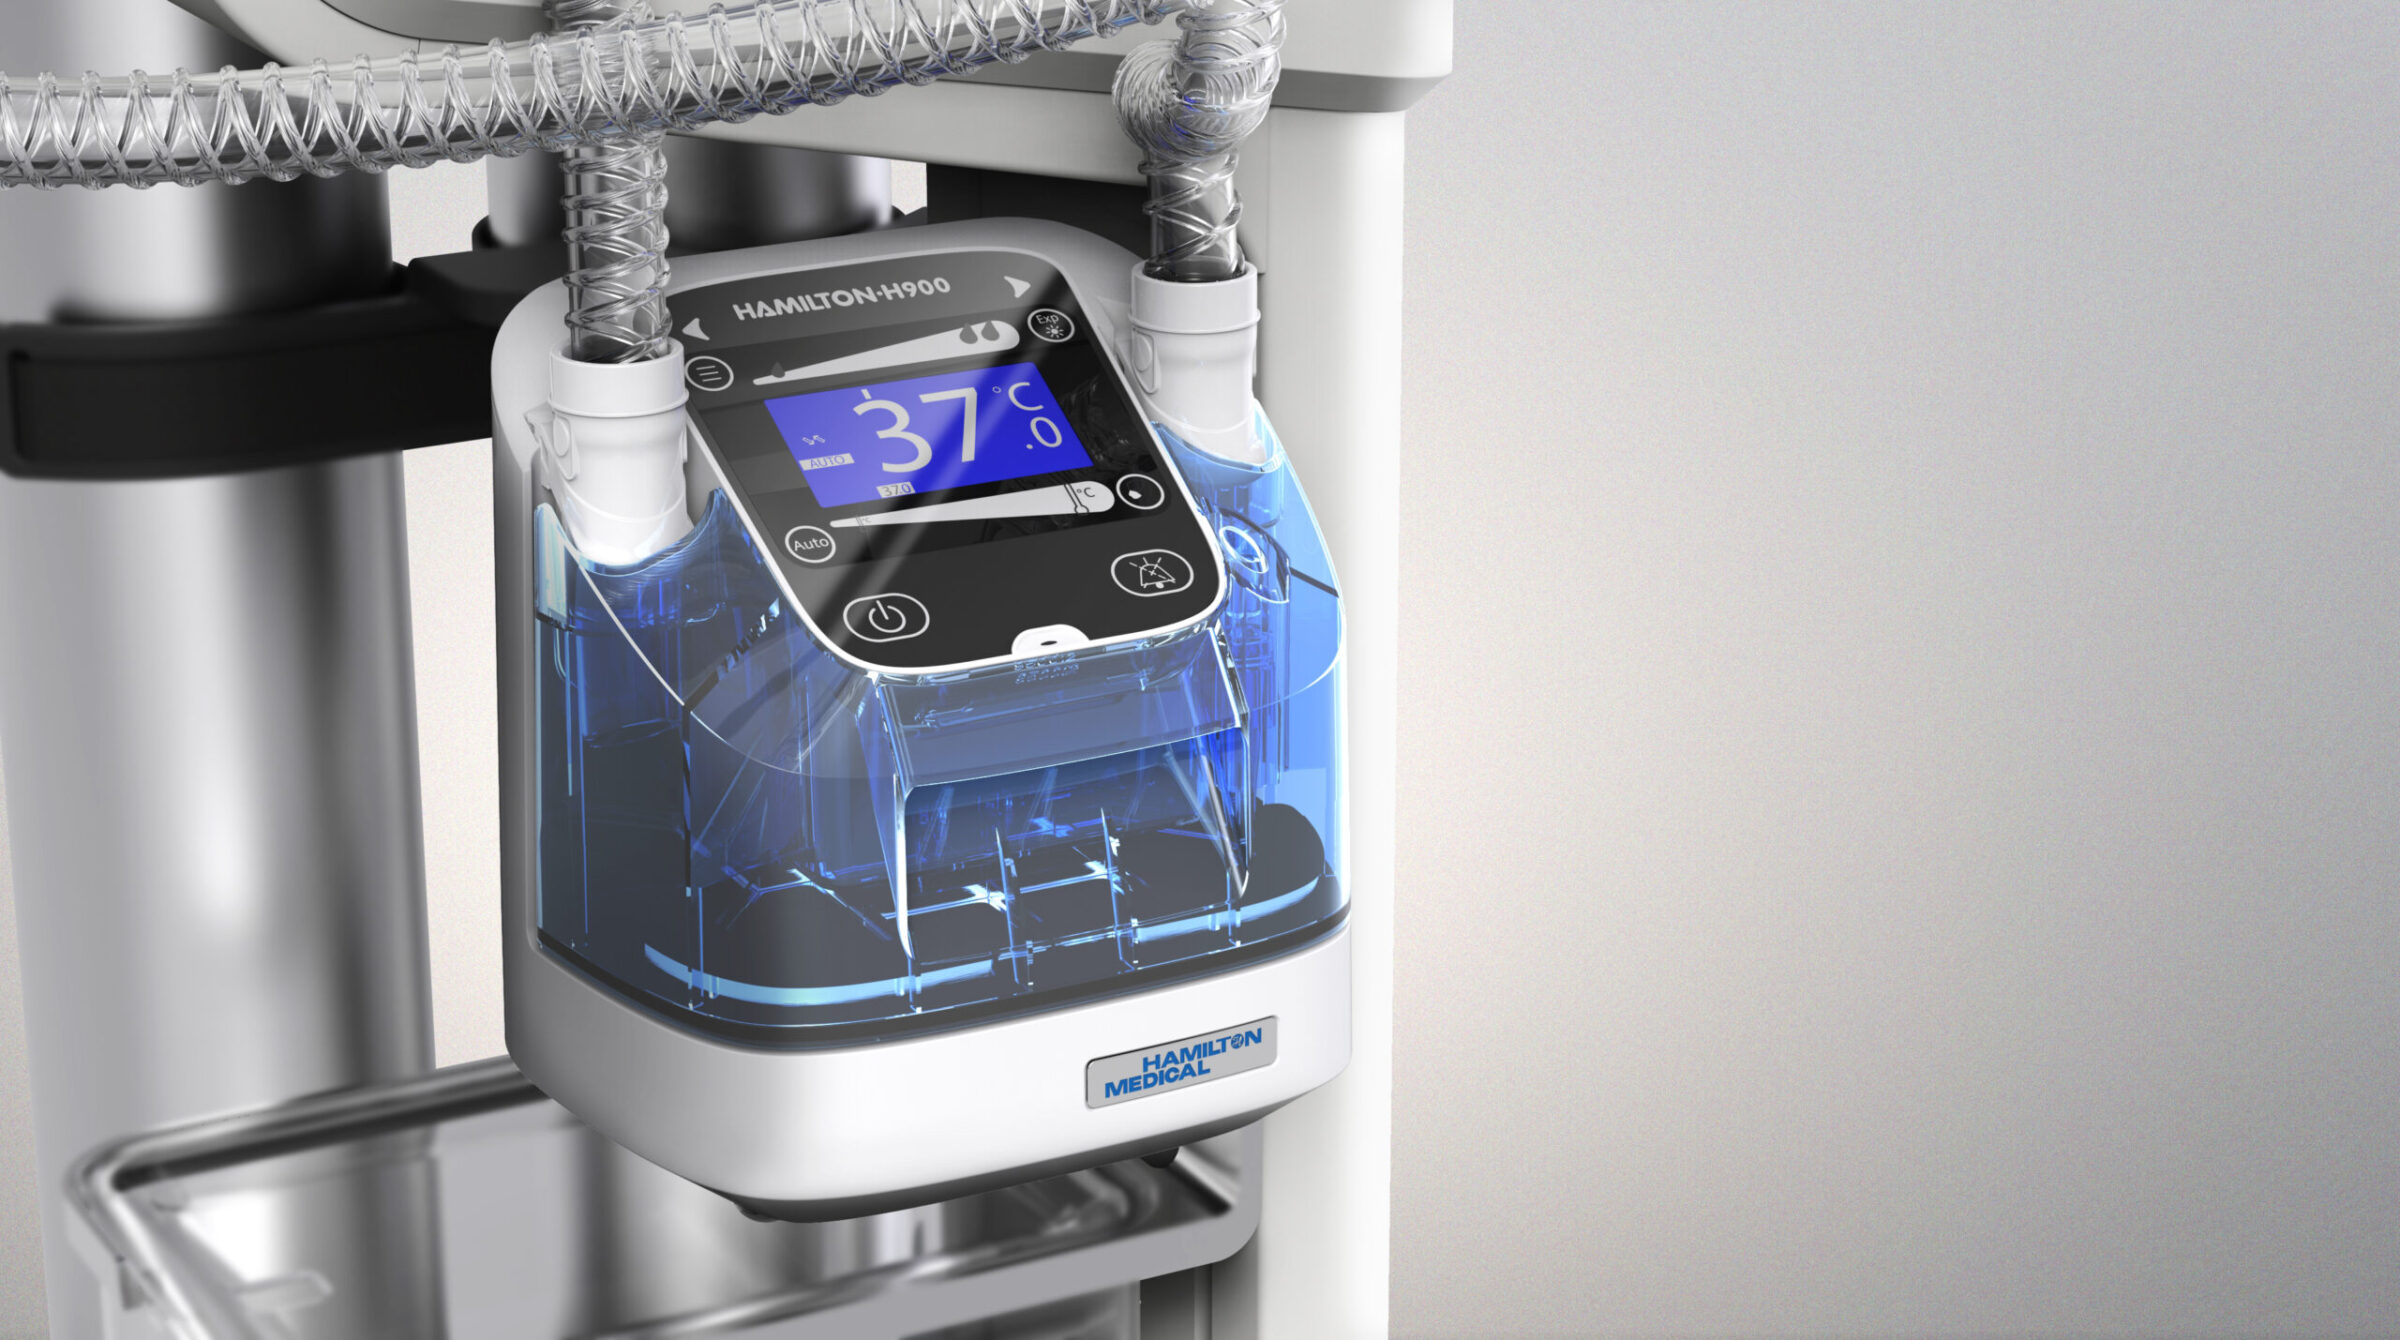
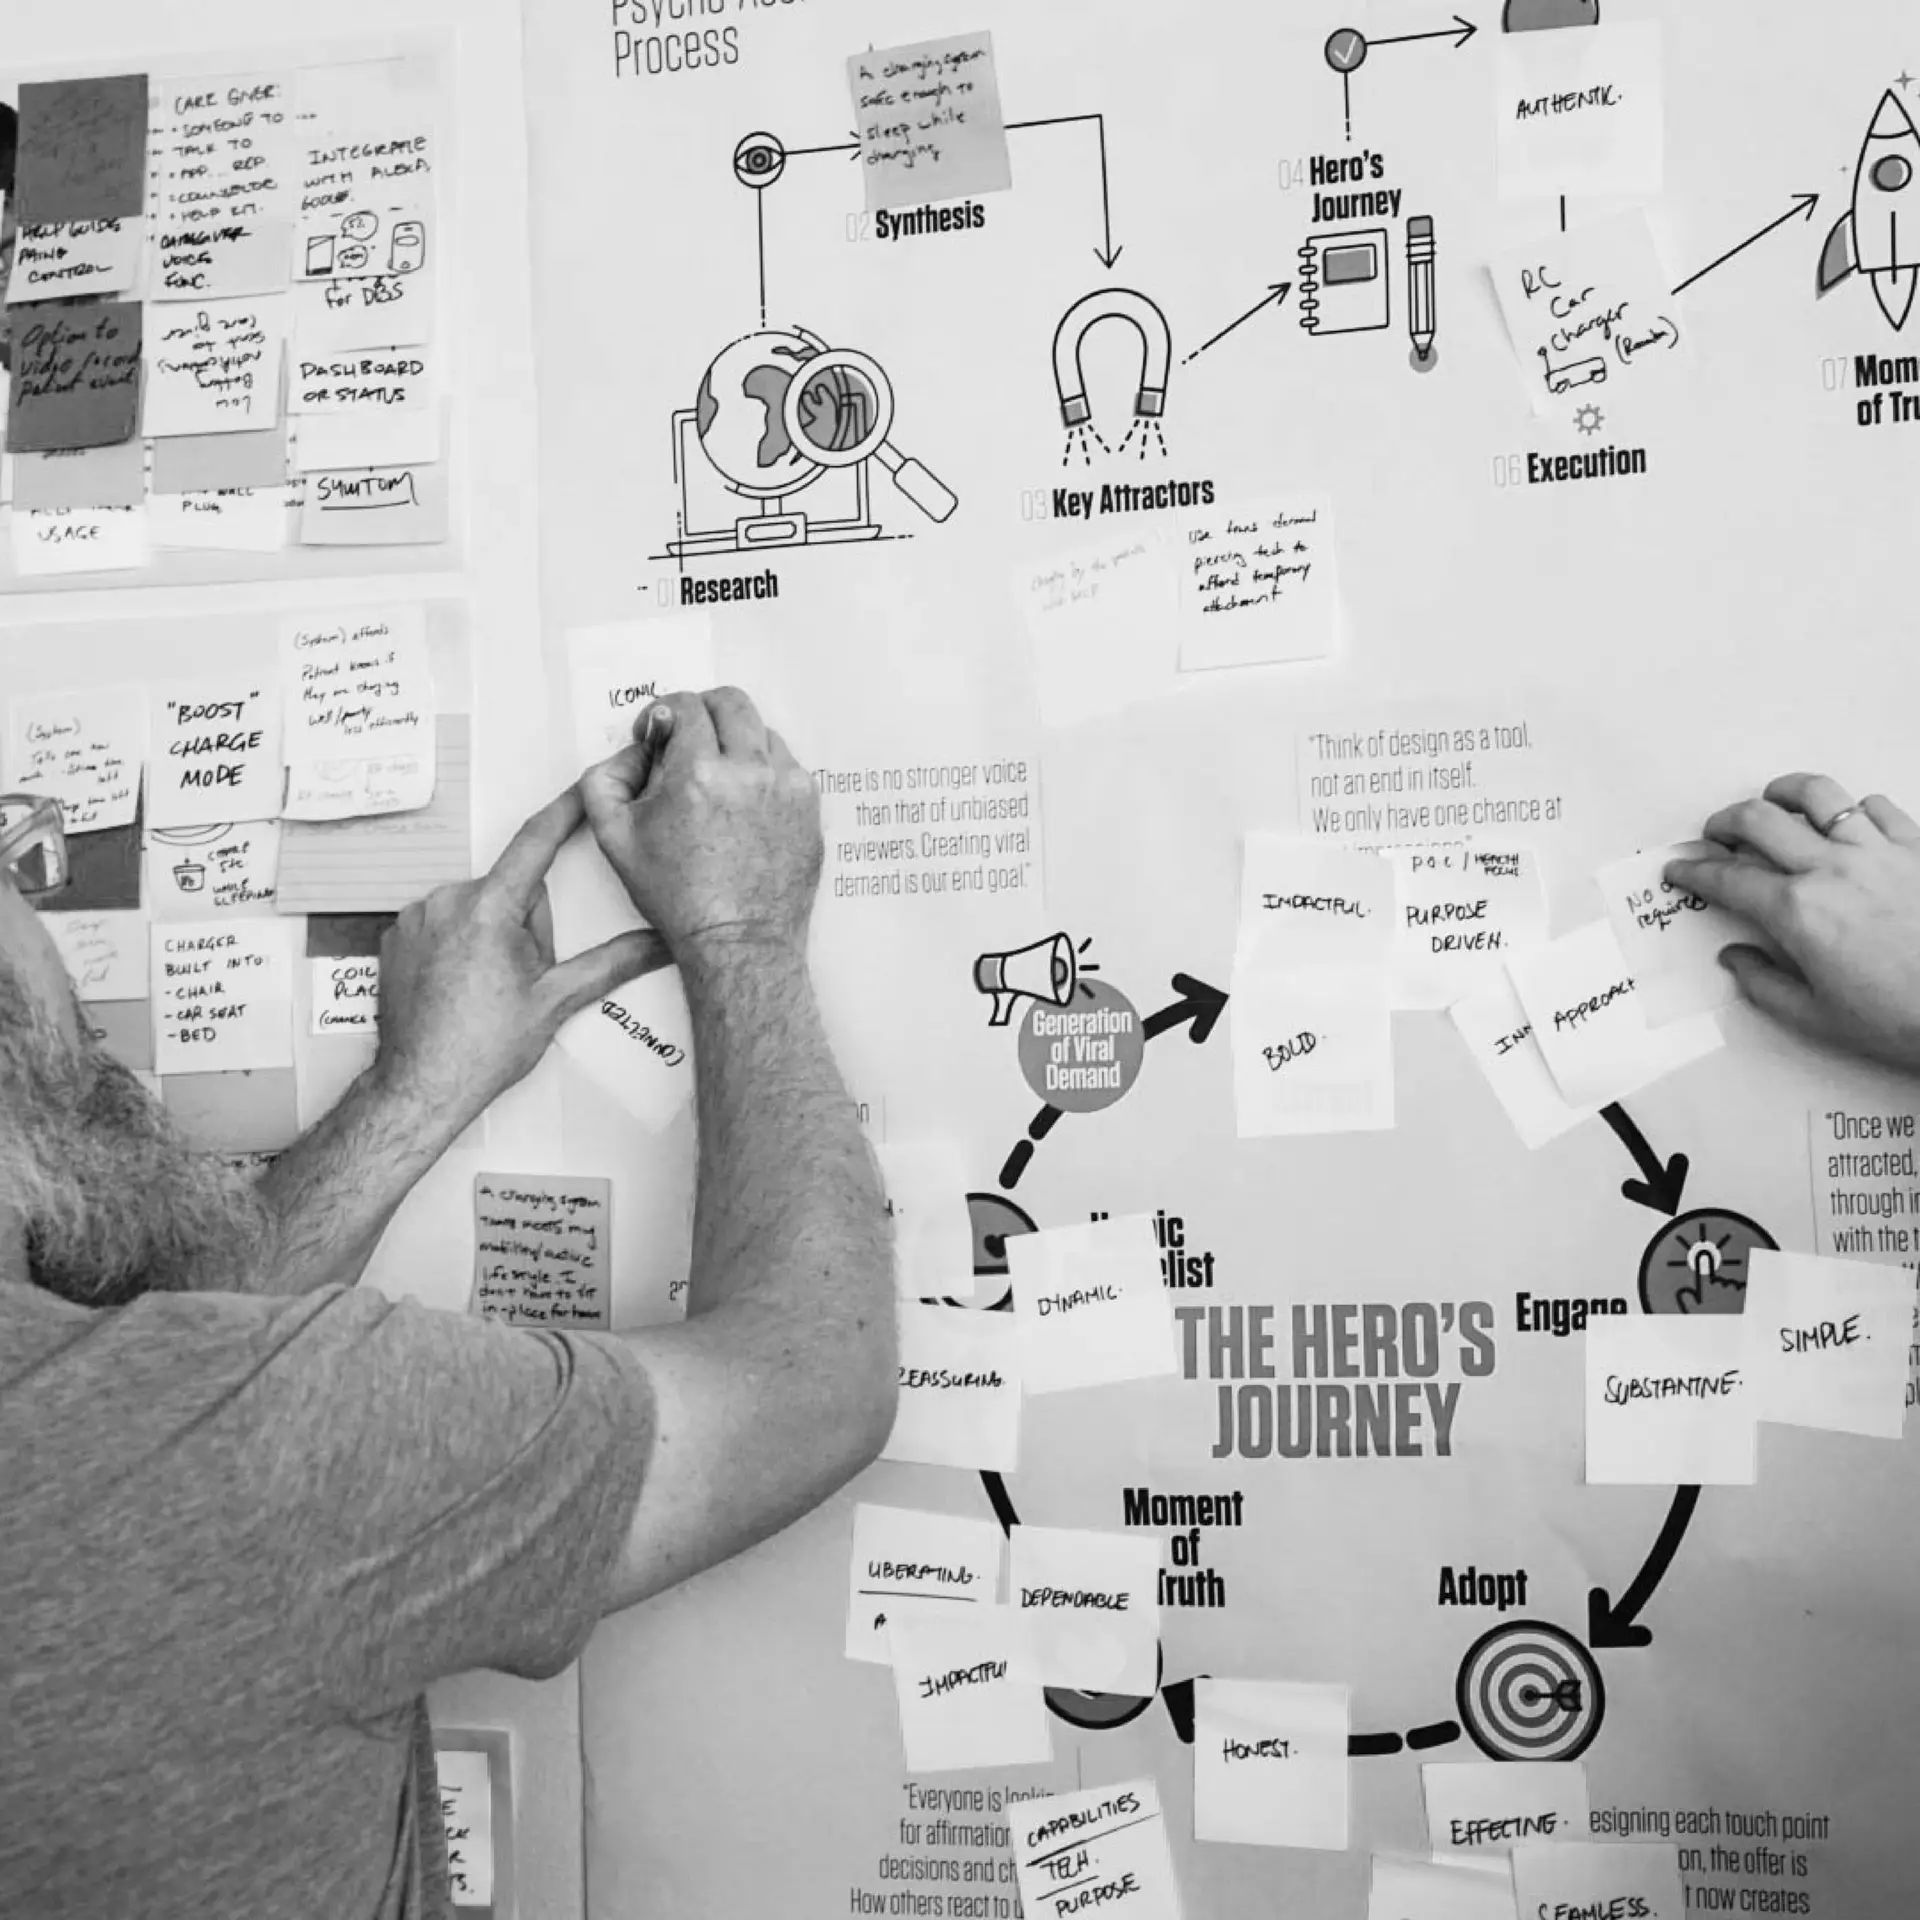
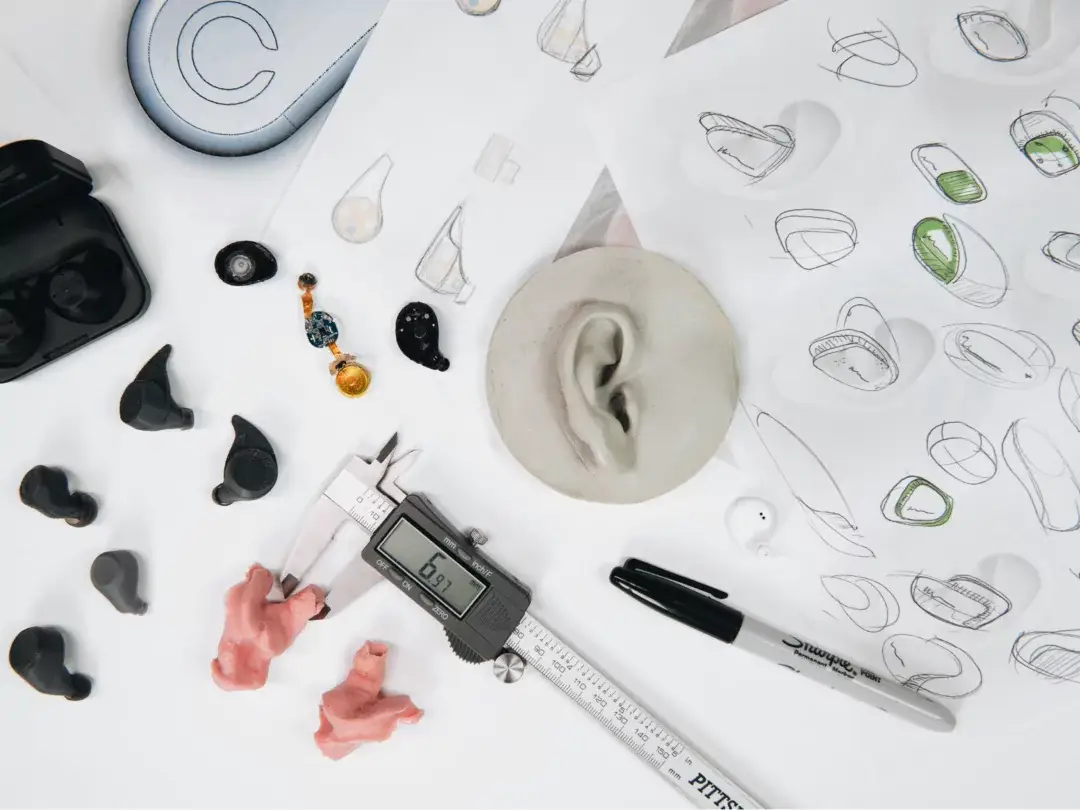
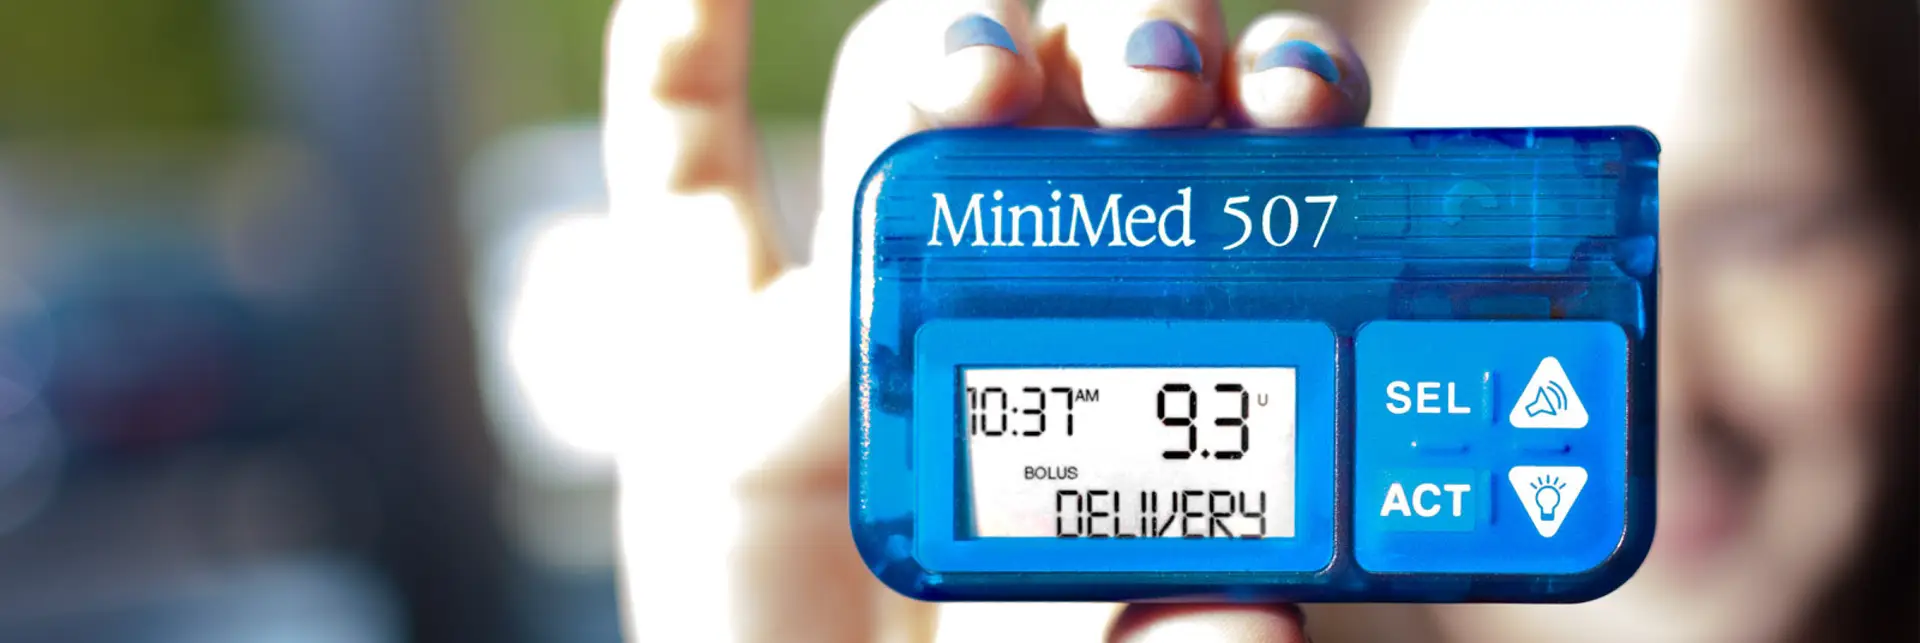
With requirements established, design development can begin. For medical devices, concept development must balance clinical effectiveness, regulatory compliance, and usability simultaneously. At RKS, our Psycho-Aesthetics® methodology guides this stage, ensuring that design decisions serve not just what the device enables users to do, but how it makes them feel. This approach produced the original MiniMed insulin pump: a device so well designed that patients actually wanted to wear it, contributing directly to its commercial dominance.
Step 5: Conduct Risk Analysis
Risk analysis runs parallel to design development from beginning to end. ISO 14971 provides the framework, covering: hazard identification (what could go wrong in any use scenario), risk estimation (probability and severity of resulting harm), risk evaluation (comparing against acceptable risk criteria), risk control (design features and labeling to reduce unacceptable risks), and risk-benefit analysis (evaluating whether clinical benefits justify residual risks). Your risk file becomes a core component of your regulatory submission.
Step 6: Build and Test Prototypes
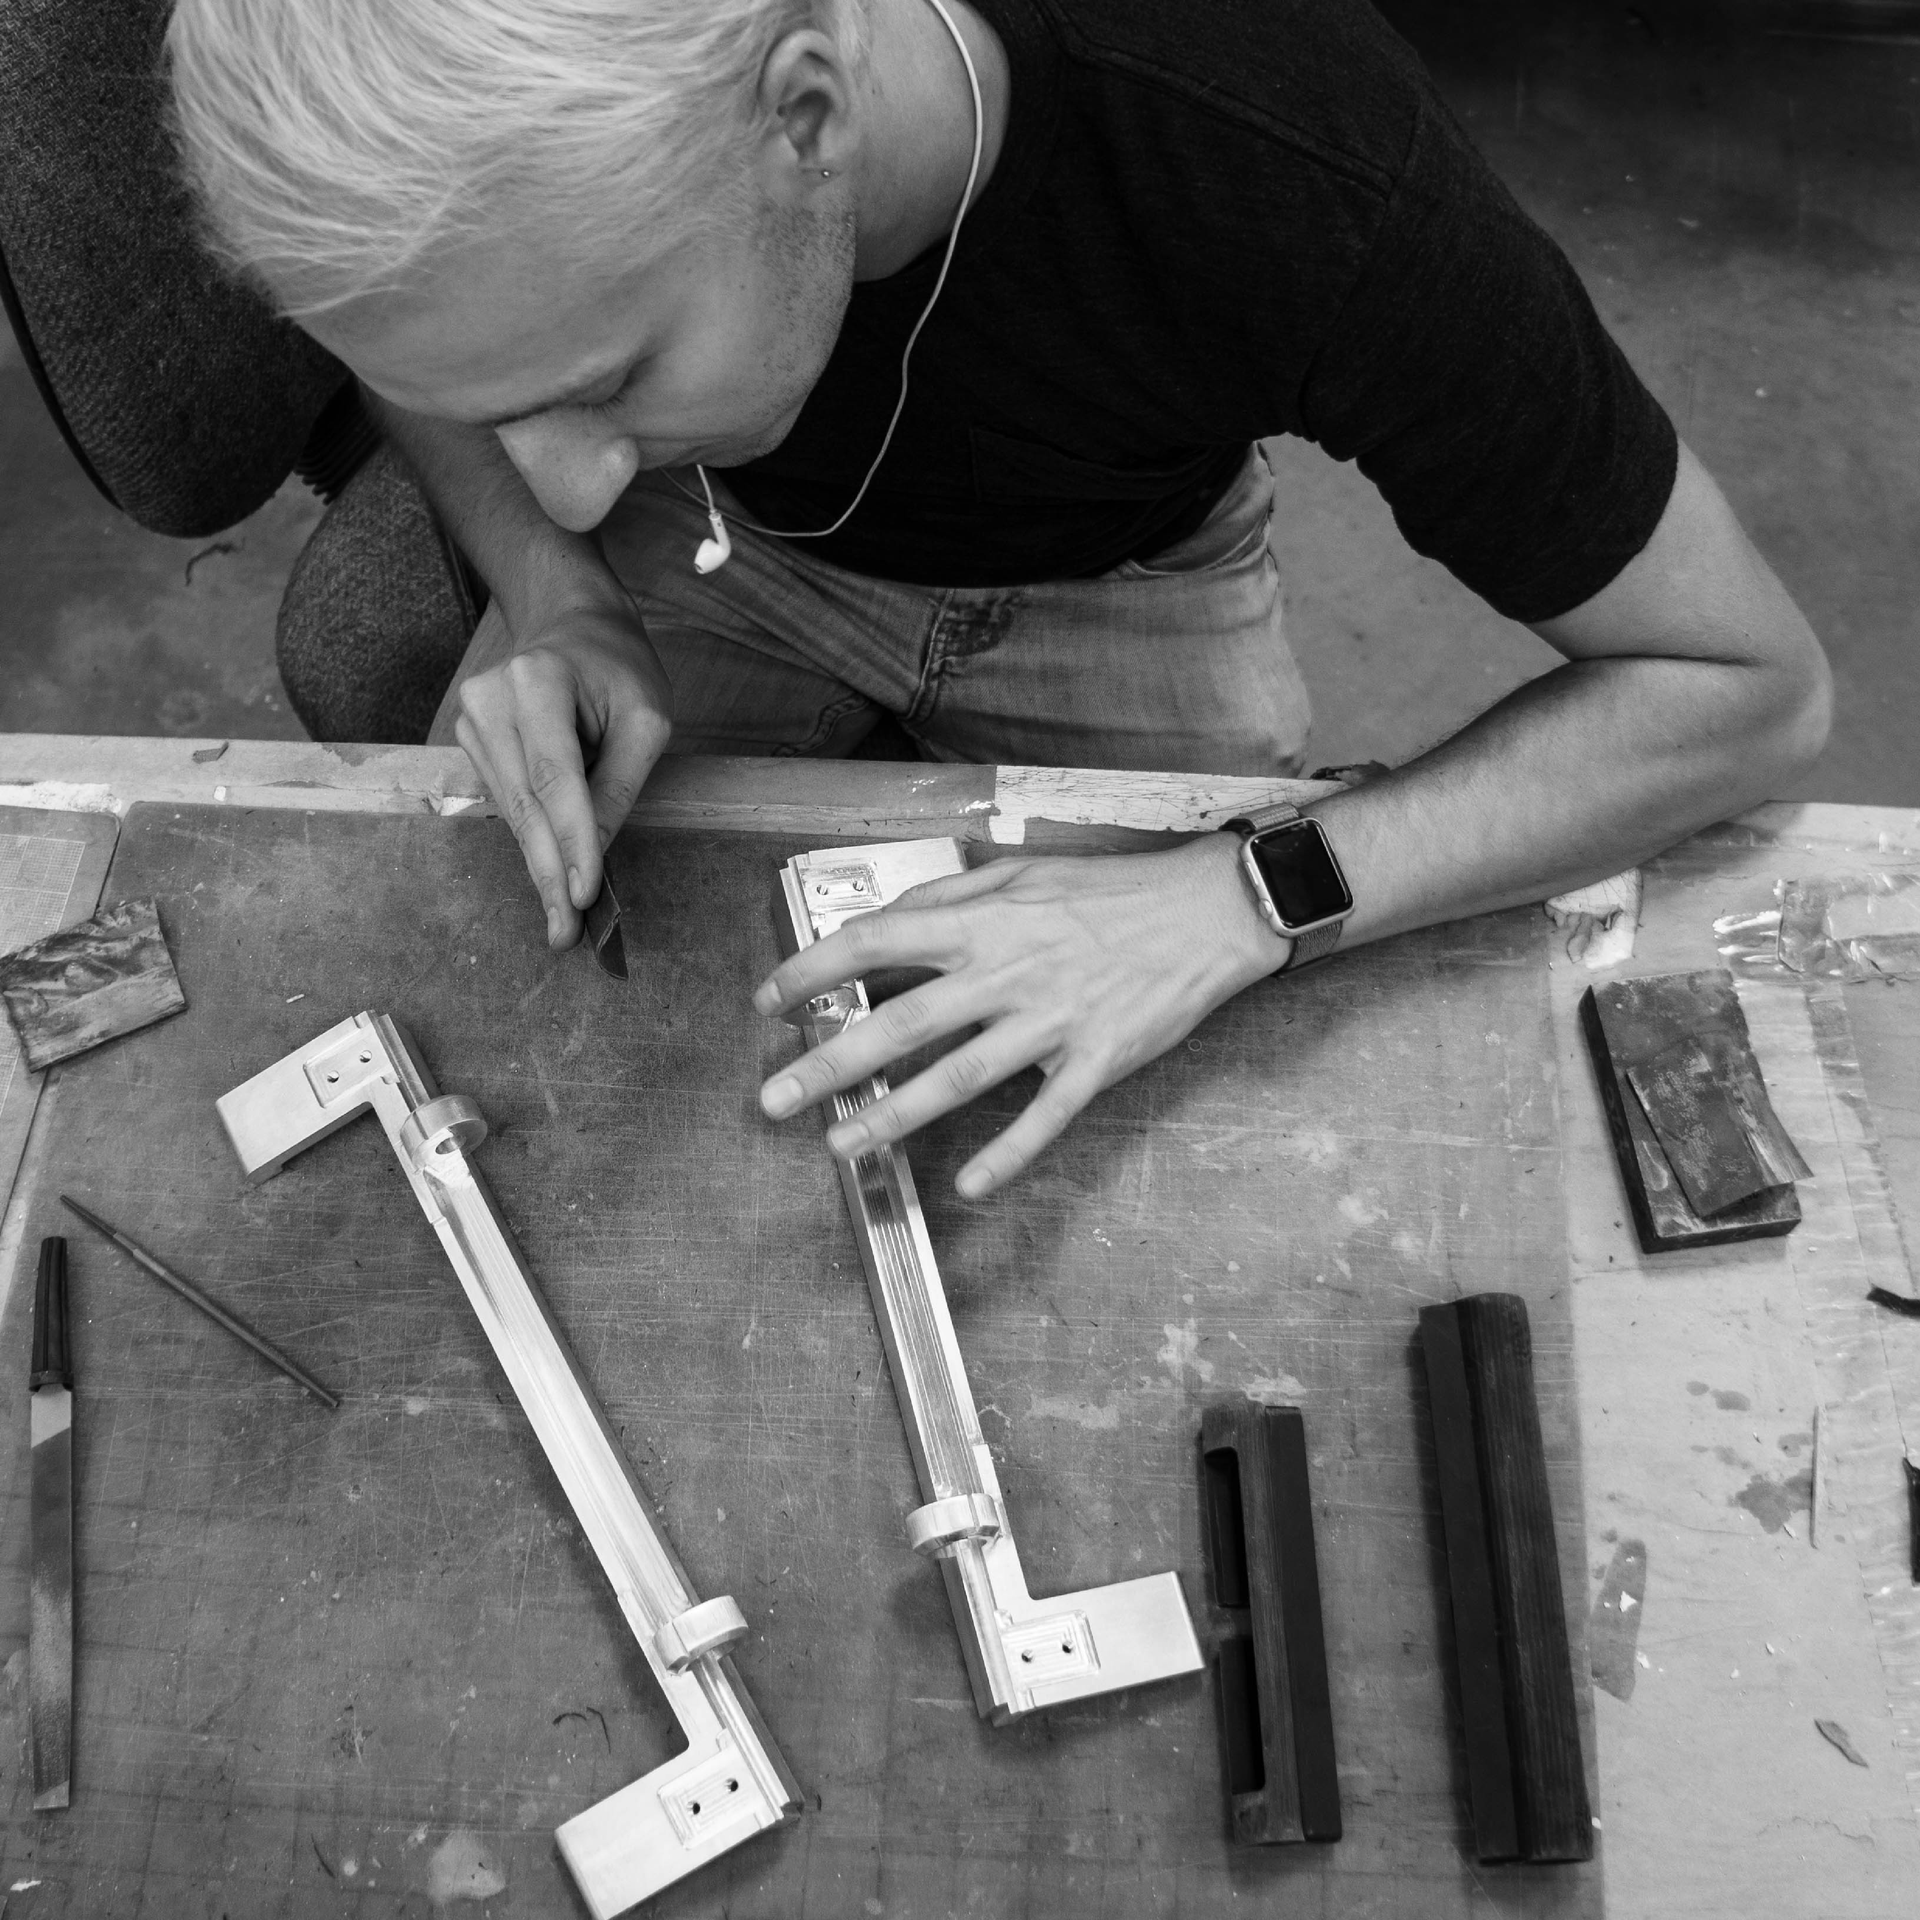
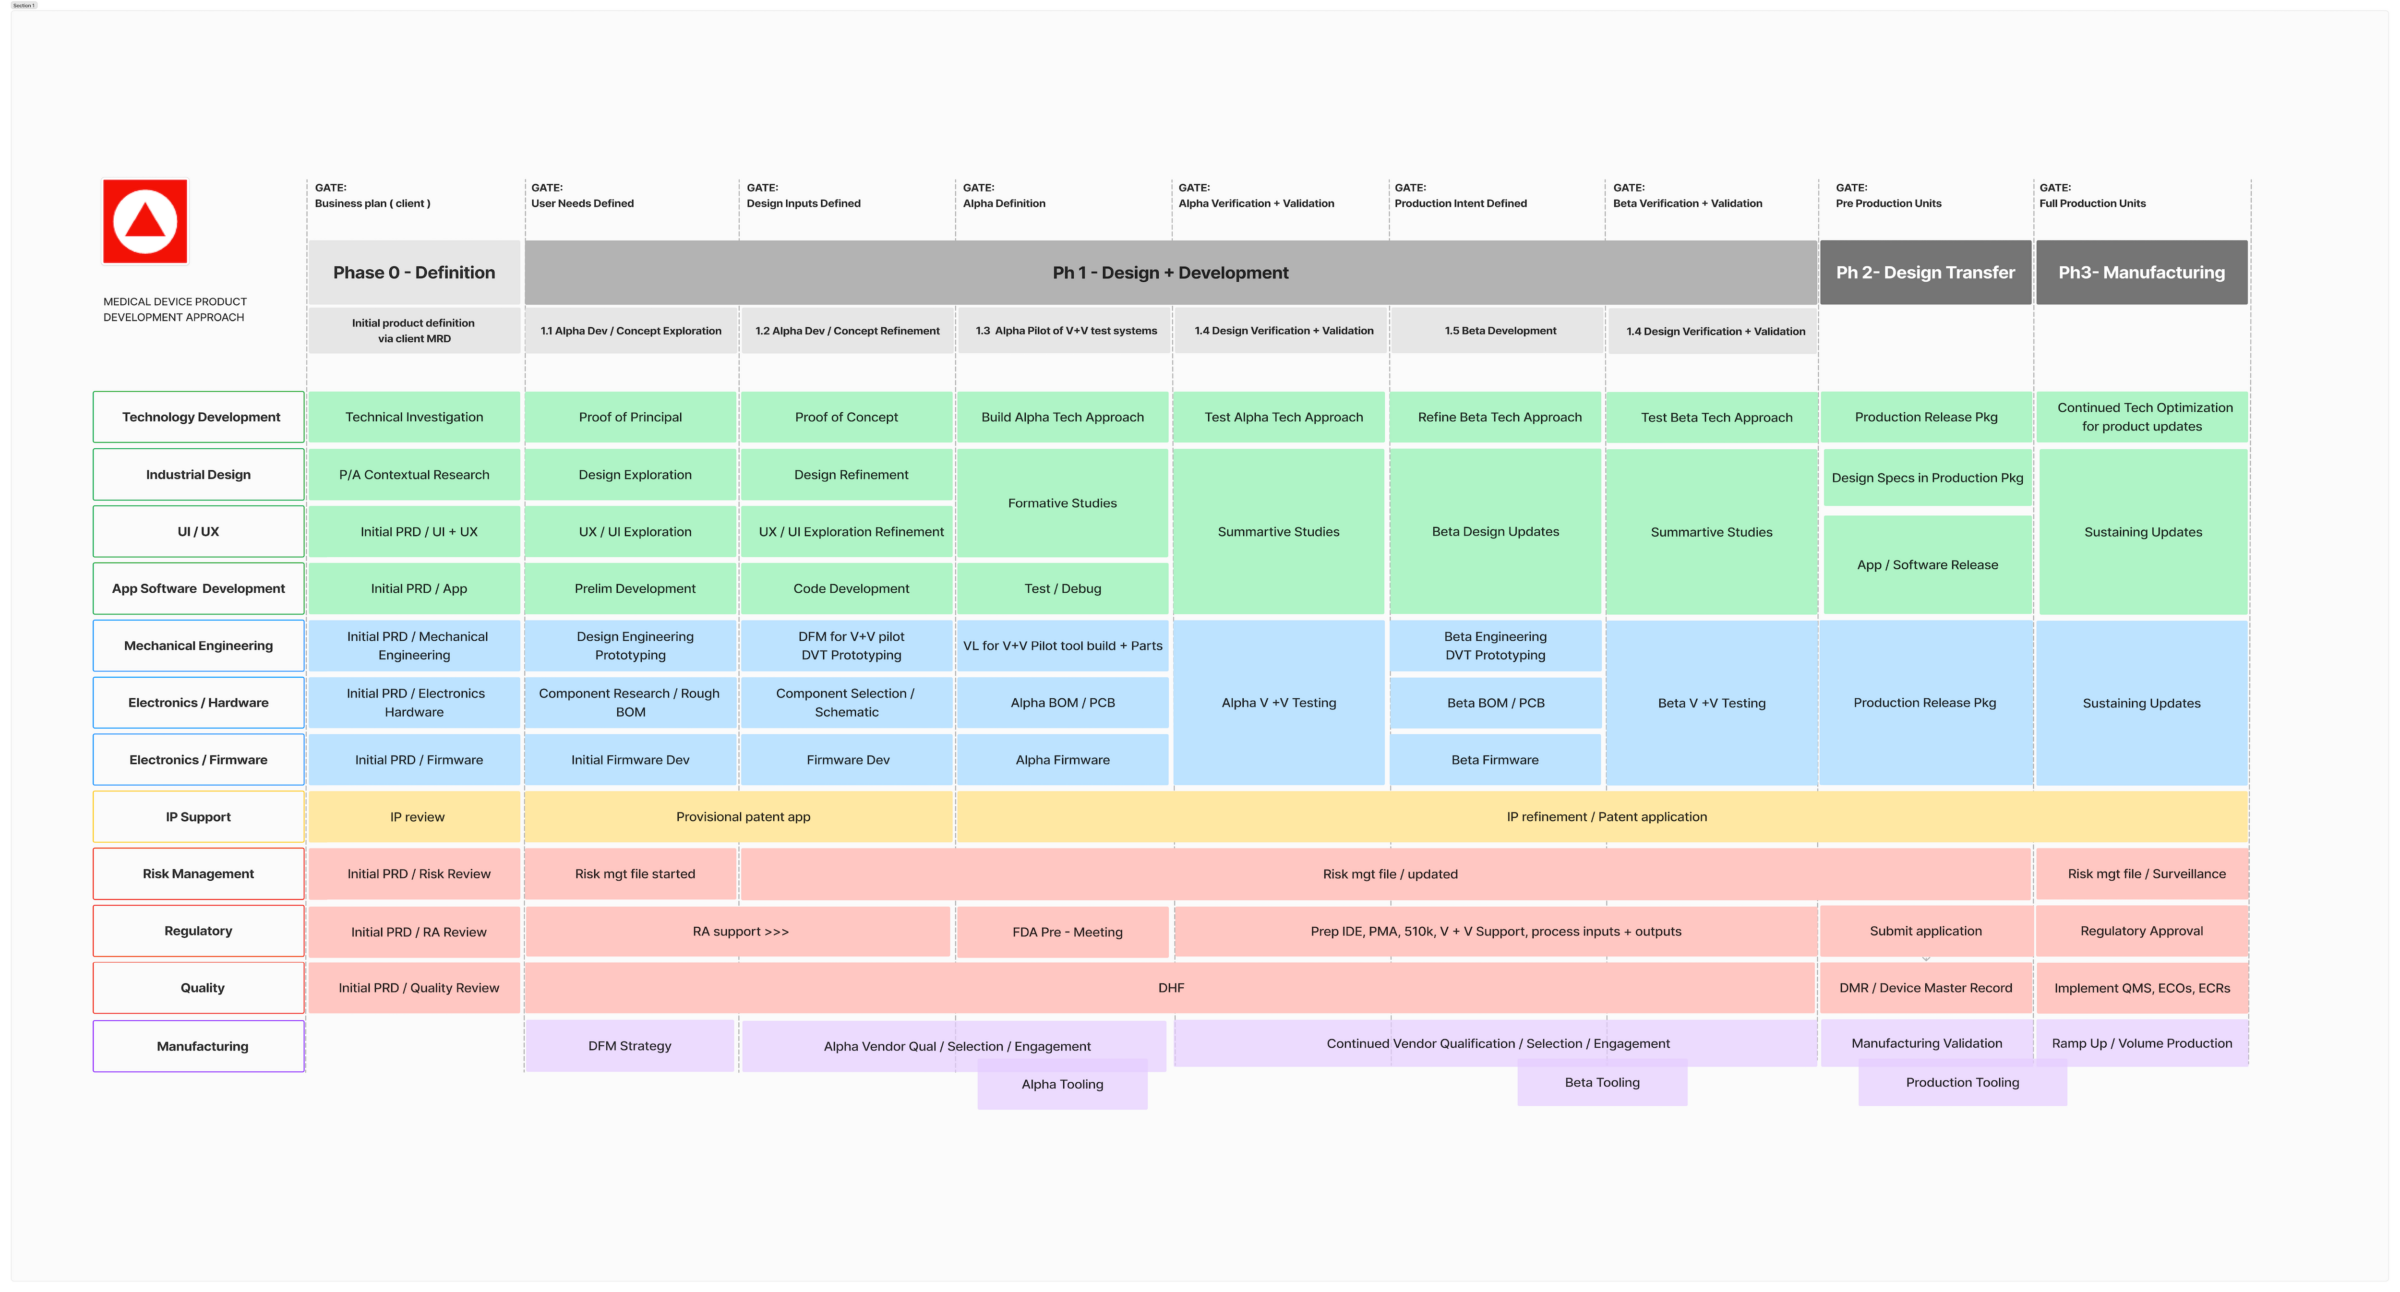
Prototyping for medical devices is more structured than for consumer products. Early-stage prototypes validate form, scale, and basic usability. Functional prototypes validate device performance against requirements. Human factors prototypes are used for formative usability testing with actual intended users, your opportunity to identify design-related use errors before they’re embedded in a finalized design. Formative studies conducted throughout development let you catch and correct usability problems before the formal summative study required for regulatory submission.
Step 7: Navigate Your Regulatory Pathway
510(k) Clearance: For Class II devices (moderate risk). Requires demonstration that your device is substantially equivalent to a legally marketed predicate. Typically takes 6–12 months.
PMA (Premarket Approval): For Class III devices (high risk). Requires clinical evidence of safety and effectiveness. Typically requires 12–36 months and significantly more data.
De Novo Classification: For novel low-to-moderate risk devices without a suitable predicate. Increasingly important as new device categories emerge.
Step 8: Complete Design Verification and Validation
Verification asks: did we build the design right? Validation asks: did we build the right design? Verification testing confirms your device meets all design requirements with objective test data. Validation testing confirms it meets user needs, the most important activity being the summative usability study: a formal evaluation with actual intended users performing critical tasks in a simulated use environment. If the study identifies use errors on critical tasks, you’ll need to redesign and retest before submitting.
Step 9: Prepare and Submit Your Regulatory Filing
Your regulatory submission documents your entire design and development process. For a 510(k), this includes: device description and intended use, substantial equivalence comparison with predicate, performance testing summary, labeling, human factors/usability engineering report, risk analysis summary, and biocompatibility assessment. Quality matters, clear, well-organized, complete submissions move through review faster and avoid deficiency letters that add months to your timeline.
Step 10: Plan for Post-Market Surveillance
FDA clearance or approval is not the end of the design process. Under 21 CFR Part 820, you’re required to monitor device performance in the field and use post-market data to continuously improve your device. Building surveillance capability into your quality system before launch is essential for sustainable compliance. To learn more about how RKS Design approaches medical device design, visit our medical device design page.
Field Notes · practitioner voice, leadership-reviewedBack to Insights
Frequently Asked Questions
How long does 510(k) clearance take?
For a Class II device, demonstrating substantial equivalence to a predicate typically takes 6 to 12 months. A PMA for a Class III device usually runs 12 to 36 months.
What is a summative usability study?
It is the formal human factors validation with actual intended users performing critical tasks in a simulated use environment. It is the checkpoint most late-stage surprises trace back to, and it is required for a regulatory submission.
Which regulatory pathway do I need?
510(k) for moderate-risk devices with a predicate, PMA for high-risk devices needing clinical evidence, and De Novo for novel low-to-moderate risk devices without a suitable predicate.